Onboarding - Create your first Email-to-Notion Sync
This documentation will help you to set up your first Email-to-Notion sync.
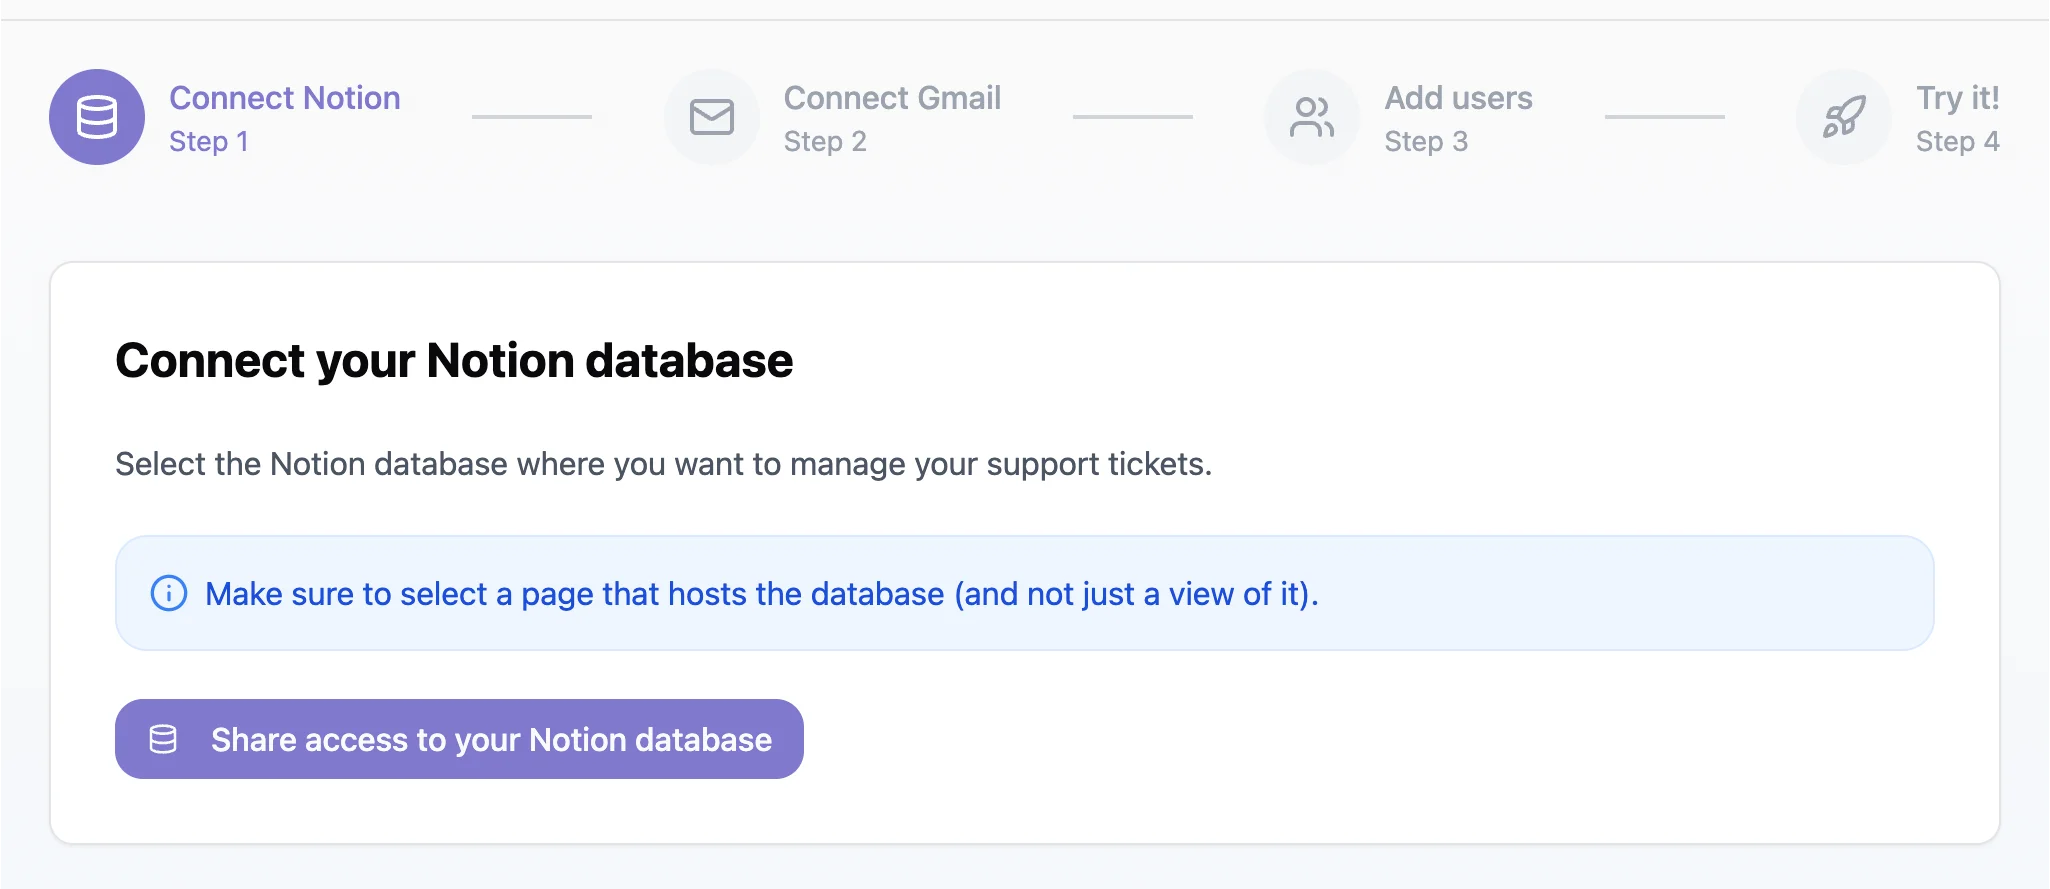
1. Share access to your Notion database
- Click on the button “Share access to your Notion database”.
- A popup will open where you’ll be able to give Slap access to your Notion workspace.
- Then, you can either choose to use our basic template by selecting the option “Use a template provided by the developer”. That’s the fastest option to test Slap.
- Or, you can give access to one of your existing database by selecting the option “Select pages to share with Slap”.
Free Notion templates
Have a look at our free Notion templates
to get started quickly with a CRM, ticketing system, email hub and more, already set up to work seamlessly with Slap.
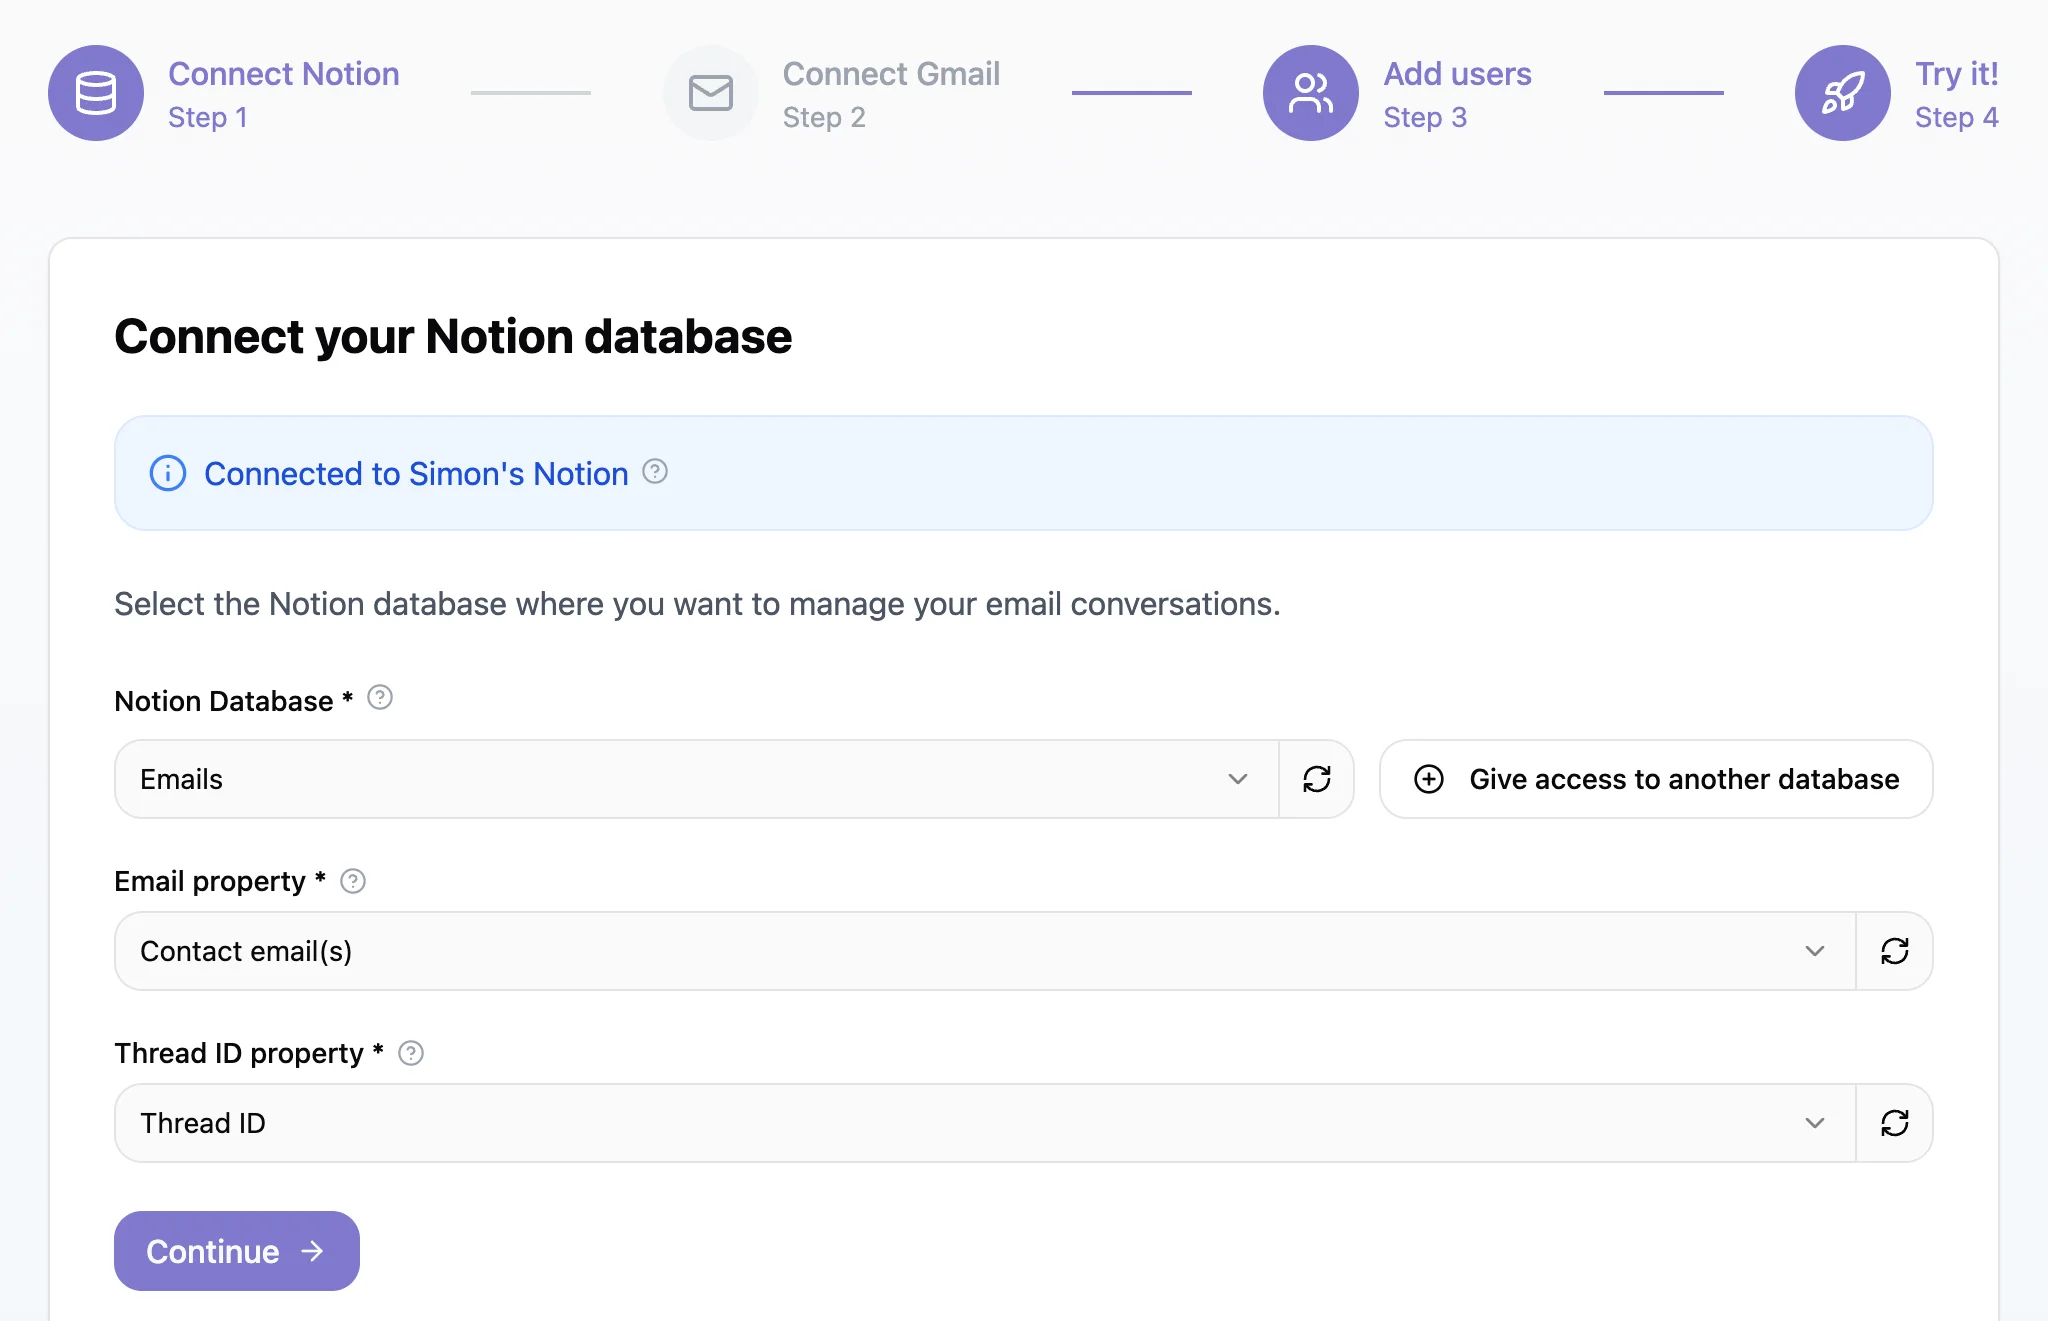
2. Select your Notion Database
- Notion Database - Select the Notion Database where you want to send your emails.
- If your Notion database doesn’t appear in the list, it’s probably because Slap doesn’t have yet access to it. Click on the button “Give access to another database”. Choose the option “Select pages to share with Slap”. Make sure you then select the page that holds the database (and not just a view of your database) and click on “Allow access”.
- It may take a few minutes before a newly shared Notion database becomes visible. Don’t hesitate to use the refresh button next to the Notion database field a few times.
- Having issue to see your database appearing? You’ll find more information here .
- Email property - This is the field where the email address(es) of your contact(s) will be stored. Choose a text property from your Notion database to store it. If you’ve just added the property to your database, hit the refresh button to see it appearing.
- Thread ID property - Select a text property from your database where we can store the thread ID, a technical field we use to determine which emails are part of the same conversation/thread. You can always hide this field in your Notion database to avoid cluttering your interface. If you’ve just added the property to your database, hit the refresh button to see it appearing.
- Click on “Continue”.
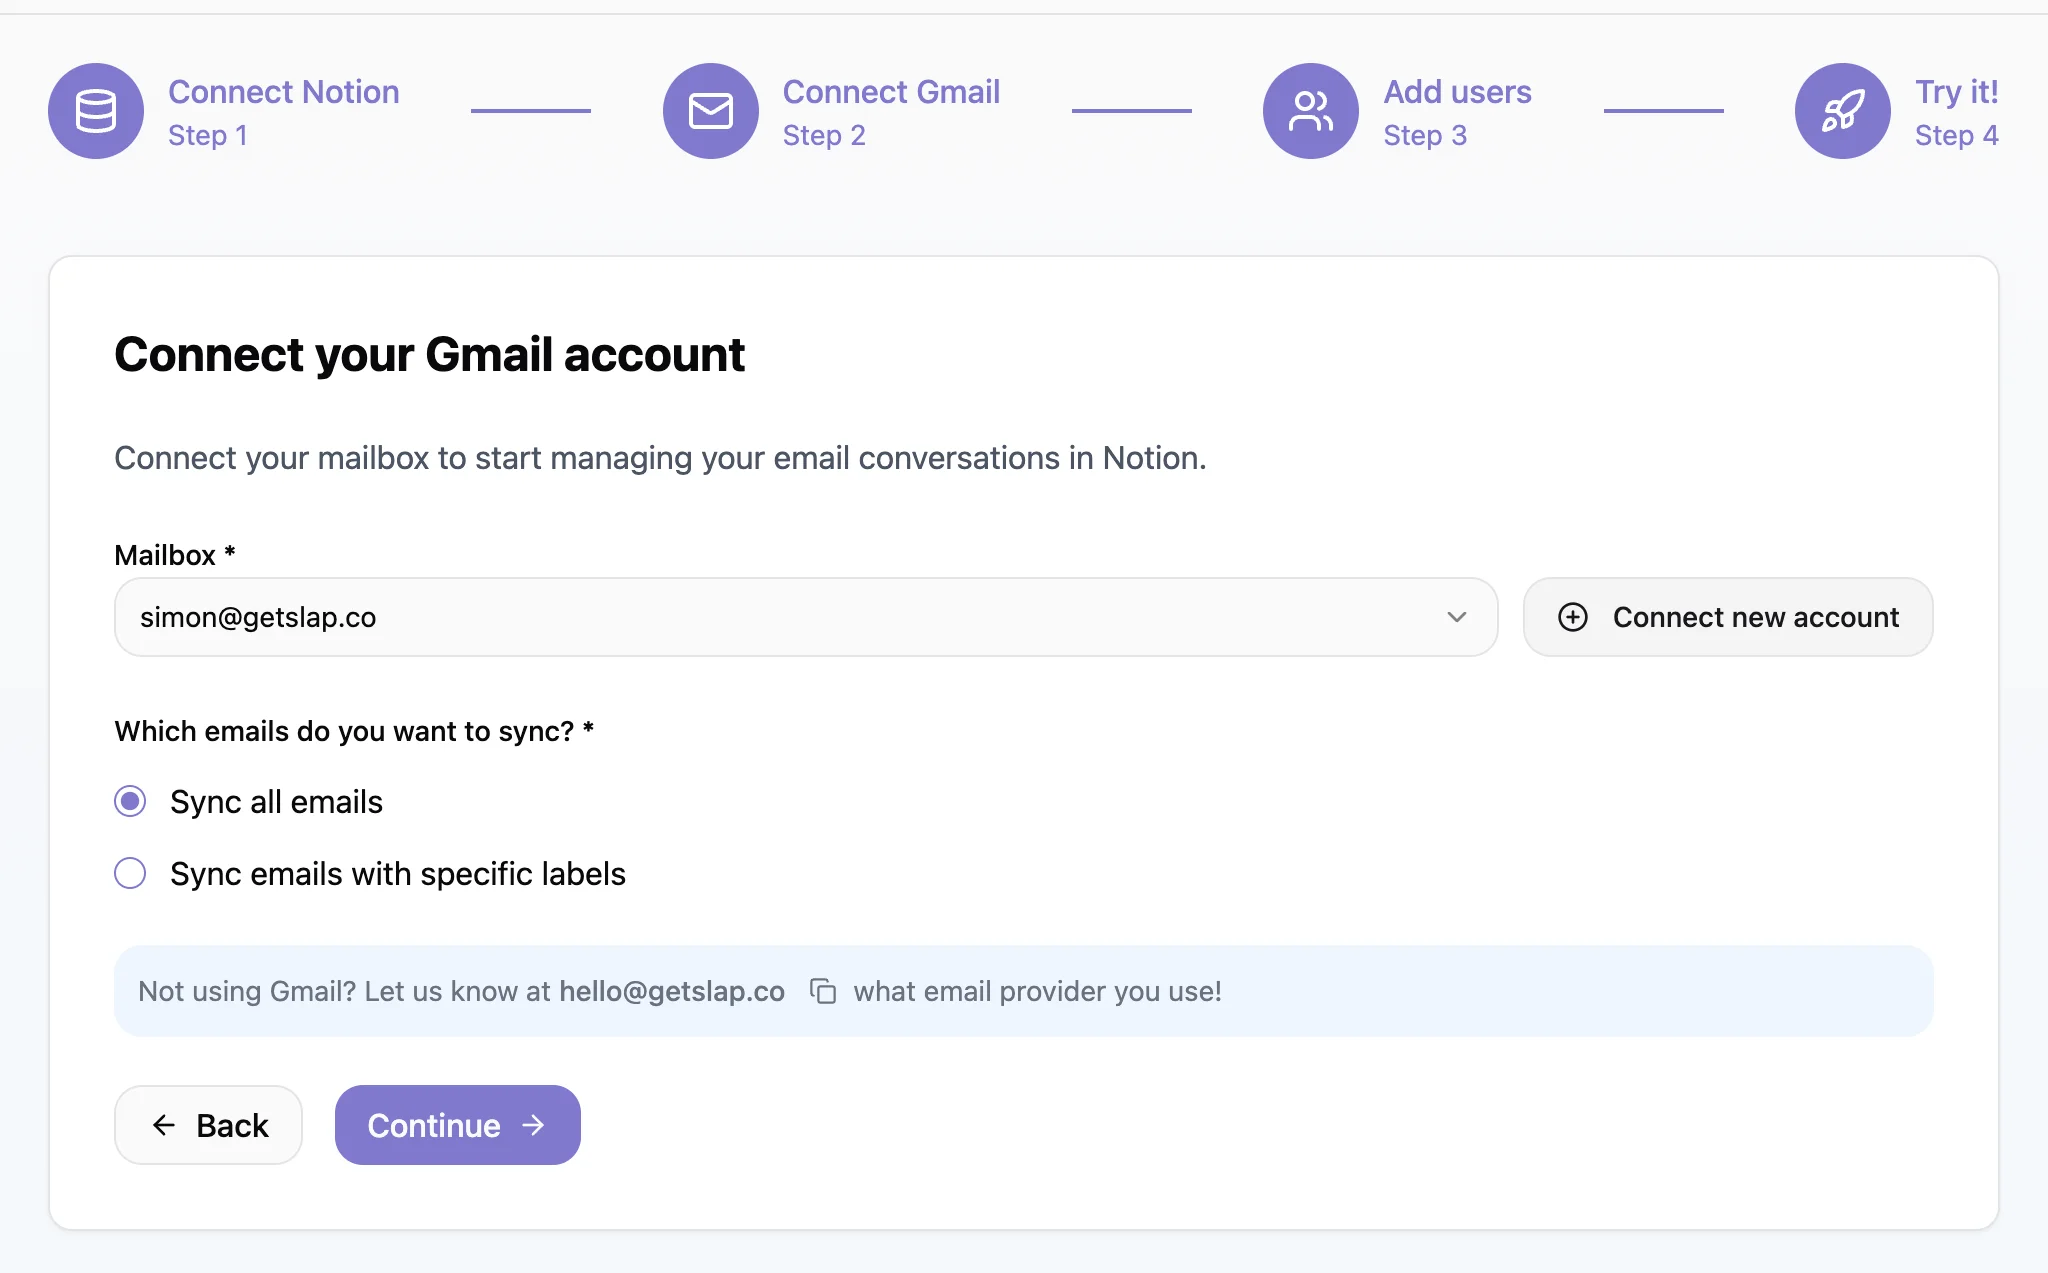
3. Connect your mailbox
- Mailbox - Select the mailbox you want to sync with your Notion database. Click on the button “Connect new account” to add a new one.
Attention needed
All Notion users with access to the associated Notion database will be able to view emails sent and received in this Gmail mailbox. Ensure your access rights in Notion are set correctly.
4. Decide which emails should be sent to Notion
- Filter - You can choose whether all emails from your connected mailbox should appear in Notion or only specific ones based on their label (or alias). Learn more about using labels to filter emails sent to Notion here .
5. Test the sync
The last step of the onboarding screen will help you test your setup with the following actions:
- Verify that everything is working as expected by sending an email to your own mailbox.
Attention needed
If you’ve filtered the emails to sync based on their labels (see step n°4), don’t forget to set the right label on your email, else it won’t appear in Notion.
- Check if the email has arrived in your Notion database.
- The content of the email will appear in the comment section (so make sure the comment section is displayed in your Notion database).
- Now, simply reply to the email by adding a comment.
- Verify that you see the reply in your mailbox.
- Start your comment by # to log an internal note.
That’s it, you’re done! 🚀
Want other Notion users to be able to reply? Follow this documentation.
Want to connect more databases and/or mailboxes? Simply click on “Add a new Sync” from your dashboard.